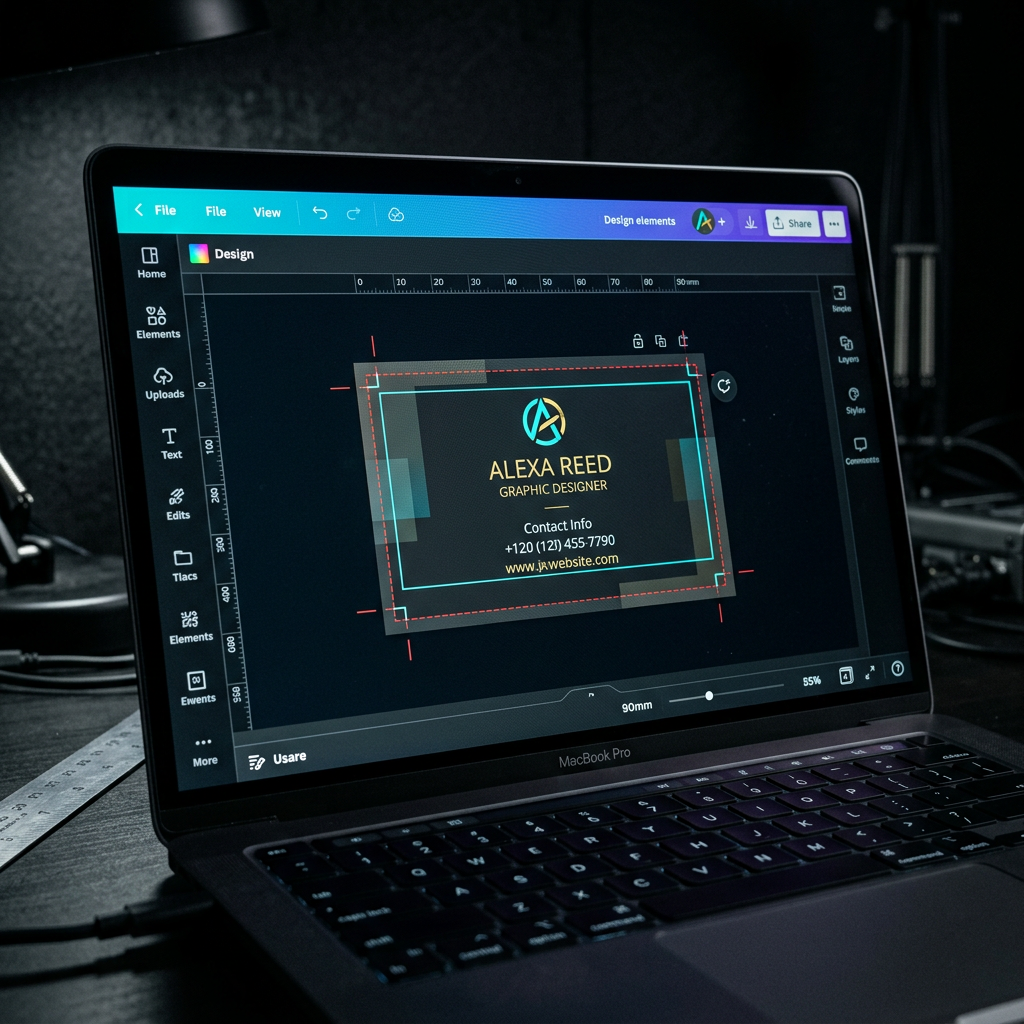
Canva is one of the most popular design tools for small business owners and marketers — but it was built primarily for digital use. When you send a Canva file to a commercial printer, there are several critical settings you need to get right or your finished piece will have white borders, clipped text, and color mismatches. This guide covers everything you need to know.
The most common mistake we see from Canva users: the design looks perfect on screen, but the printed version has thin white edges along one or more sides. This is a bleed problem — and it's completely preventable.
Step 1: Start with the Correct Document Size
When you create a new Canva project, the first decision — document size — is also the most important. You need to set the canvas to your finished print size, not a screen size or a "close enough" approximation.
| Print Product | Finished Size | Canva Size with Bleed |
|---|---|---|
| Business Card | 3.5" x 2" | 3.75" x 2.25" |
| Postcard (4x6) | 6" x 4" | 6.25" x 4.25" |
| Postcard (5.5x8.5) | 8.5" x 5.5" | 8.75" x 5.75" |
| Flyer (Letter) | 8.5" x 11" | 8.75" x 11.25" |
| Flyer (Half) | 5.5" x 8.5" | 5.75" x 8.75" |
| EDDM Postcard | 6.25" x 9" | 6.5" x 9.25" |
| Poster (11x17) | 11" x 17" | 11.25" x 17.25" |
Open Canva and Click 'Create a Design'
From the Canva homepage, click Create a design in the upper right corner, then select Custom size at the bottom of the dropdown. This lets you enter exact dimensions.
Enter Your Size in Inches — With Bleed Added
Change the unit to inches using the dropdown next to the measurement fields. Then enter your finished size PLUS 0.125 inch on each side for bleed. For a standard business card (3.5" x 2"), enter 3.75" wide x 2.25" tall. This extra 0.125" on each edge is your bleed zone.
Why Add Bleed to the Document Size?
Canva does not have a true bleed setting like Adobe InDesign. The workaround is to make your canvas slightly larger than your finished size — the printer trims the extra edge, and any background color or image that extends to the canvas edge will bleed correctly to the trim line.
Step 2: Understand the Three Zones of Your Design
Once your canvas is sized correctly, think of your design in three zones. Every element you place needs to be in the right zone or it risks being cut off or leaving a white edge.
Zone 1 — The Bleed Area (Outer 0.125")
This is the extra 0.125" you added to each edge. Your background color, background image, or any full-bleed graphic element must extend all the way to the canvas edge, filling this zone completely. Nothing important (text, logos, faces) should be here — it will be cut off.
Zone 2 — The Trim Line
The trim line is the boundary between your bleed area and your finished size. This is where the printer's cutting blade will land. Because mechanical cutting has slight variance (typically +/- 0.0625"), your design must account for this by keeping important content away from this line.
Zone 3 — The Safe Zone (Inner 0.125" from Trim)
Keep all critical content — text, logos, phone numbers, QR codes, faces — at least 0.125" inside the trim line. In Canva, this means keeping important elements at least 0.25" from the canvas edge (0.125" bleed + 0.125" safe zone buffer). Use Canva's ruler guides to mark this boundary.
Step 3: Set Up Guides in Canva
Canva supports ruler guides that you can drag onto your canvas to mark your safe zone. This is essential for keeping your layout within bounds.
Enable Rulers
Go to File > View settings > Show rulers (or press Shift+R). Rulers appear along the top and left edge of your canvas.
Drag Guides to Mark Your Safe Zone
Click anywhere on the ruler and drag a guide onto the canvas. For a business card canvas (3.75" x 2.25"), place guides at 0.25" from each edge to mark your safe zone boundary. Elements like your name, phone number, and logo should stay inside these guides.
Extend Your Background to the Canvas Edge
Select your background color or image and make sure it fills the entire canvas — all the way to the edge, with no white showing. In Canva, use the background color tool (click on an empty area of the canvas) or stretch a background image to 100% canvas coverage.
Step 4: Use the Right Color Mode
Canva works in RGB color by default — the color system used by screens. Commercial printing uses CMYK. This means the colors you see in Canva may look different when printed, especially bright blues, vibrant oranges, and neon tones that exist in RGB but are outside the CMYK gamut.
Canva does not support CMYK design natively. The conversion happens automatically when you export. For most designs, the difference is minor. For brand-critical colors (especially logos with specific Pantone equivalents), use a CMYK-native tool like Adobe InDesign or Illustrator, or share your Pantone specifications with us so we can match them on press.
Tips for Better Color Accuracy from Canva
Avoid pure RGB values that have no CMYK equivalent — neons and extreme saturated colors. Stick to colors with moderate saturation levels. If your brand has a specific Pantone color, find its closest CMYK equivalent (available at pantone.com) and build your Canva palette around those CMYK-safe values.
Step 5: Export Correctly for Print
How you export your Canva file is as important as how you set it up. A low-resolution export will print blurry, and the wrong format can strip your color information.
Export as PDF Print — Not PDF Standard or PNG
Click Share > Download and select PDF Print from the file type dropdown. This exports at 300 DPI with the highest color fidelity Canva can produce. Do not use "PDF Standard" (lower quality) or PNG (may not be 300 DPI) for commercial print jobs.
Check the 'Crop Marks and Bleed' Option
When you select PDF Print, Canva will show a checkbox labeled Crop marks and bleed. Check this box. It adds trim marks (small corner lines that show the printer where to cut) and includes your bleed area in the export. This is the single most important export setting for print.
Flatten and Check Before Sending
After exporting, open your PDF in Adobe Acrobat Reader or any PDF viewer and zoom in on the corners. Confirm your background extends past the crop marks (into the bleed), and that no text is dangerously close to the trim lines. If something looks tight, go back into Canva and adjust before sending to print.
Common Canva-to-Print Mistakes to Avoid
| Mistake | What Goes Wrong | Fix |
|---|---|---|
| Canvas set to finished size only | White borders appear after cutting | Add 0.125" bleed to each side of canvas dimensions |
| Background does not reach canvas edge | White gap visible at one or more edges | Extend background color or image to full canvas edge |
| Text too close to canvas edge | Words or letters get clipped by the cutter | Keep all text 0.25" from canvas edge (safe zone) |
| Exported as PNG or low-res PDF | Blurry or pixelated print output | Always export as PDF Print at 300 DPI |
| "Crop marks and bleed" not checked | Printer receives no bleed area | Enable this checkbox on every PDF Print export |
| Bright RGB colors used | Colors look dull or shifted in print | Use CMYK-safe color values; avoid pure neons |
Not sure if your Canva file is ready for print? Send it to us — we review every file before it goes to press and will flag any issues before they become costly problems.
Ready to Print?
Submit your files and we'll take it from here.